Text Structure Stations in Middle School: A Step-by-Step Guide
In the last post, we talked about how to introduce students to the different text structures.
Once students can identify text structure in short paragraphs like they did in the min lesson, the next step is always the same question:
Can they apply it to longer texts?
This is where I use Text Structure Stations. Not as a brand-new concept, but as a way to see who can transfer the skill and who still needs support.
Here’s exactly how I set it up and how you can do it too.
Step 1: Create ability-based groups
I use data from the mini lesson practice and the color-by-text-structure activity we did the previous day. That tells me very quickly who’s solid and who’s still shaky.
I keep groups small. Usually 2–3 students per group.
This does two things:
✅ You immediately know which groups need more of your attention
✅ No one can hide during the work
These become very targeted groups, which makes your time at stations much more intentional.
Step 2: Choose five high-interest articles
I look for five one-page articles, each one clearly aligned to a different text structure.

High interest matters here. If the topic is boring, students check out before they ever get to the structure.
Each article is long enough that students have to read carefully, but short enough that it’s manageable within a station rotation.
Step 3: Set up your stations
I set up ten stations total, even though I only have five articles. That keeps my groups small and focused.
Students only rotate through five stations.
At each station, I have:
✅ copies of the article
✅ highlighters
✅ something to write with
Students bring:
✅ their fill-in-the-blank notes from the mini lesson (for reference)
✅ their response sheet
✅ and a pencil
Everything they need stays with them, which keeps transitions smooth.
Step 4: Decide timing and prep your timer
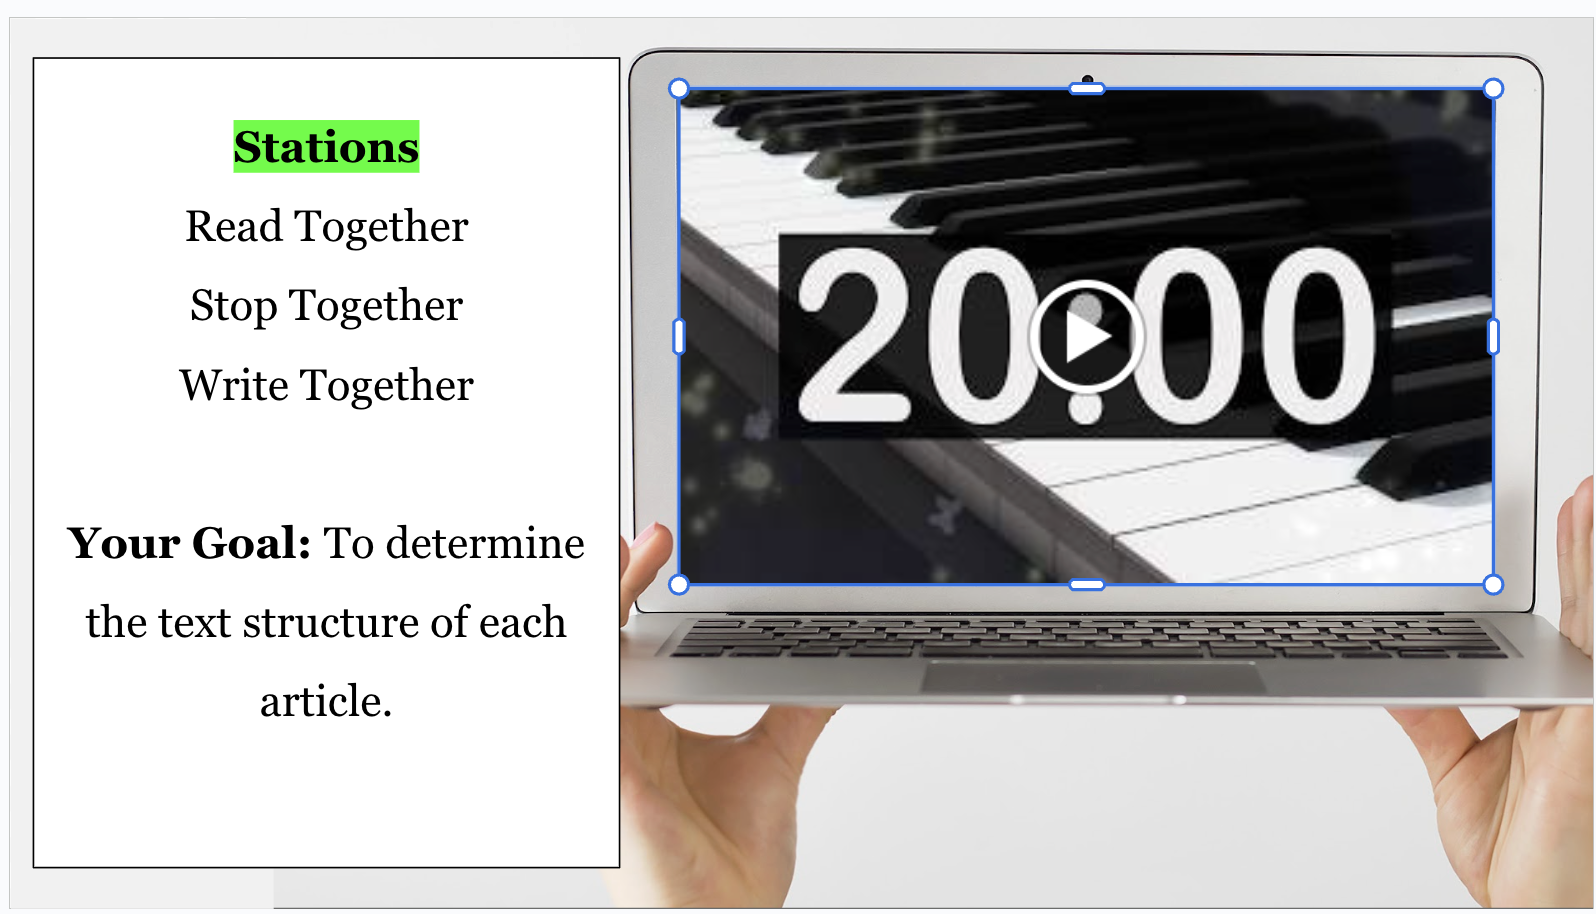
I recommend no more than 15 minutes per station.
Usually 10–15 minutes is the sweet spot.
I always use a visible timer so students know exactly how long they have and when to wrap up.
Step 5: Set clear expectations
Before we ever start, I tell students exactly what I expect to see.
I want:
✅ groups reading together, paragraph by paragraph
✅ stopping to talk about signal words
✅ answering the response sheet as a group
I’m very explicit here. I don’t want one student reading while everyone else stares into space.
I always say:
“Read together. Stop together. Write together.”
That one line sets the tone for the entire activity.
Once stations start, I keep the student process the same at every table. Consistency is what makes this work.
At each station, students follow the same three steps.
First, they read the article together.
Not silently. Not one person reading while everyone else zones out. They read as a group and pause often to talk through what they’re noticing.
As they read, students are thinking about one question the entire time: How did the author organize this information?
Next, they identify the text structure.
Students review what they highlighted, refer back to their mini-lesson notes, and determine which text structure fits best. This is where signal words and organization matter more than guessing.
I remind them that there won’t always be one obvious keyword. They have to look at how the ideas are grouped and presented.
Finally, they explain their answer.
Students write their thinking on the response sheet and explain why the structure fits, using specific phrases, keywords, or organizational patterns from the text.
This step is what separates surface-level identification from real understanding.
Every station follows this same rhythm: Read → Identify → Explain
Because the process stays the same, students can focus on the thinking instead of figuring out new directions each time.
FREEBIE ALERT 🎉
To make this easy to try, I’m sharing a sample version of the stations.
Today’s freebie includes:

✅ the Google Slides station instructions students follow at each station
✅ and one high-interest description article about cat hairballs
This lets you model expectations, walk students through the process, and see how stations work before committing to the full set.
Want the Full Resource?
If you’re reading this and thinking, This would work really well for my students, but I don’t want to hunt for articles or build all of this myself, that’s exactly why I put the full Text Structure Stations together in one download inside ELA Unlimited.

Inside ELA Unlimited, you’ll find:
✅ all five high-interest articles
✅ complete station directions
✅ student response sheets
✅ everything organized and ready to use right now.
You can download it and teach it without recreating the process or second-guessing your setup.
The sample I shared today shows you how the stations run. The full resource gives you the structure, variety, and depth to actually use this as a meaningful application lesson.
If you’re already a member, you can grab it straight from your text structure dashboard. 👉 Click here to access.
And if you’re not, ELA Unlimited is where I keep all of these lessons and no prep activities organized in one place so planning doesn’t take over your time.